Design Blog: Ping-Pong Shooter

My name is Binara, and I will be taking you through the entire design process of how I created the ping pong shooter attachment. The original task was to develop an attachment for the rover to store and shoot ping-pong balls with automatic reloading.
Step 1: Research
Every idea has to start somewhere, so the best way to get inspiration is to see what others have done. If your idea doesn’t exist, it can be helpful to break it up into smaller, existing ideas.
As with the domino layer, we will explore existing designs of ping-pong shooters:


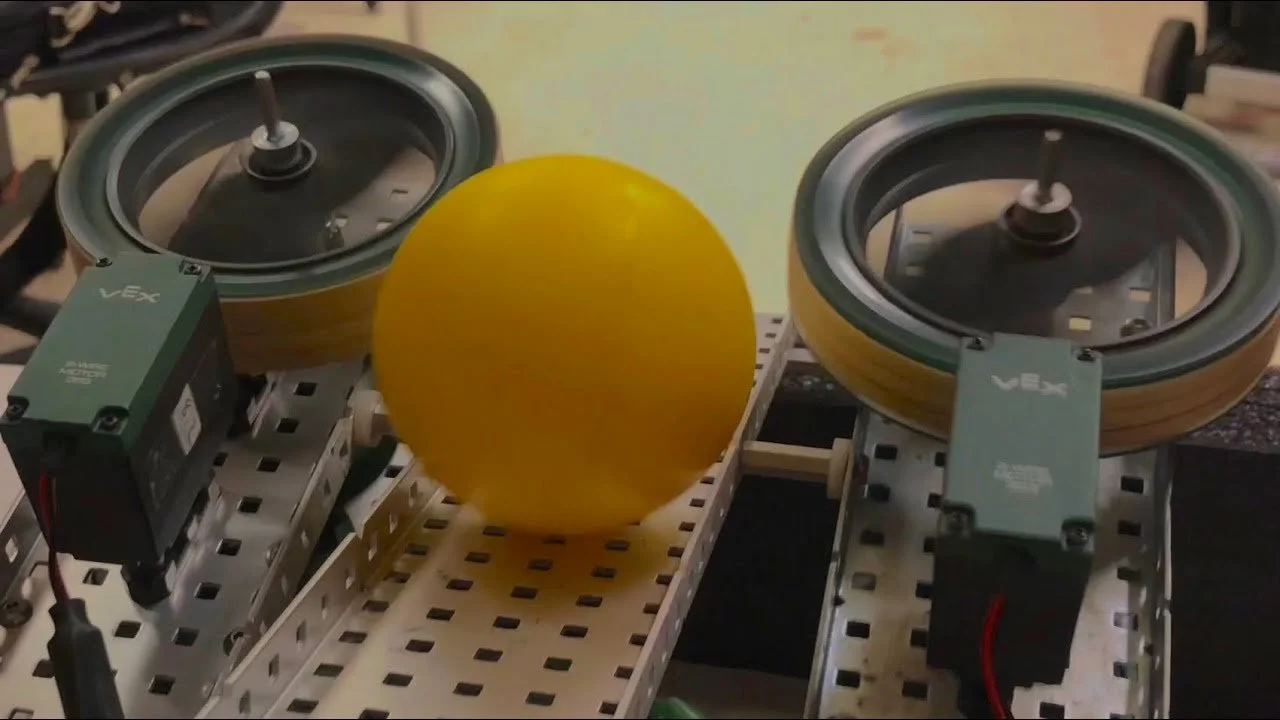
The problem with these designs is that we’re constrained to using 2 servos, so flywheels are not an option. A system that automatically pulls back rubber bands and loads ping-pong balls could work, but it would also be complex. However, using elastic energy to shoot the balls might lead us in a good direction.
Step 2: Ideation
It’s a good idea to get some of your thoughts and theories down on paper before building them.

Step 3: Prototype
As with most of my designs, the prototype phase consists of generating a 3D design on Autodesk Inventor or Fusion 360 and then 3D printing it.


Step 4: Iterate and Evaluate (Back to the drawing board)
Design 1:
This design has ping-pong balls dropping in from above. Then a servo-powered rack and pinion push the ball into ‘wings’ designed to squeeze and pop it out. The structure is made from PLA, but the wings are made using PETG, a much more flexible material. This makes it perfect for bending and squeezing the ball.


Notes to fix for the following design:
The actuator does not have enough power to push the ball through the wings.
There is a large amount of friction in the actuator, so most of the energy from the servo is wasted.
When the ball is pushed against the wings, it pops straight up instead of through them.
The print is quite large and hard to print. Also, some structural aspects are fragile.
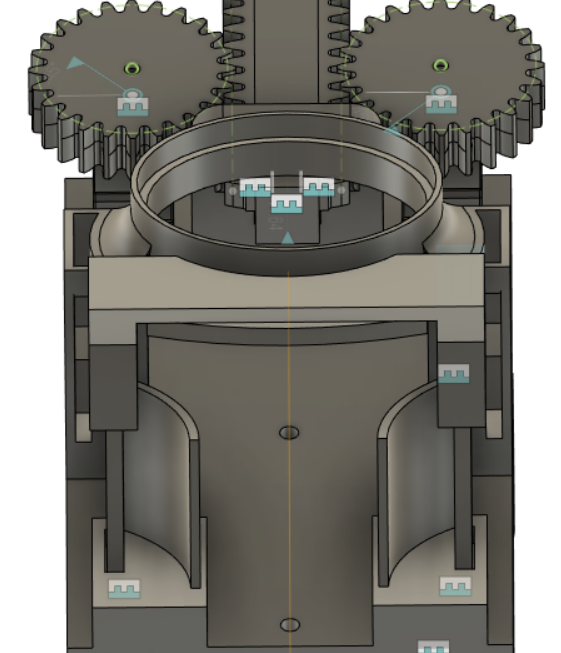
Design 2:
Now two servos on the back drive the same rack. The idea of this was to double the power of the ejection system. Throughout the structure, I’ve made some walls thicker, which reduced the chance of the prints breaking. Finally, at the front of the robot, there is an element on the roof that holds the wings in place. This stops them from flexing too much and popping out of their socket when a ball is pushed against them.

Notes to fix for the following design:
The actuator doesn’t have much power when pushing the ball, so the ejection system is weak.
The actuator doesn’t always go straight, and the teeth jam in the channel it moves along in.
The print is massive and has several supports that are difficult to remove.
The element on the roof holding the wings is stuck using glue. Sometimes, it still pops out if there is enough pressure from the ping-pong ball.
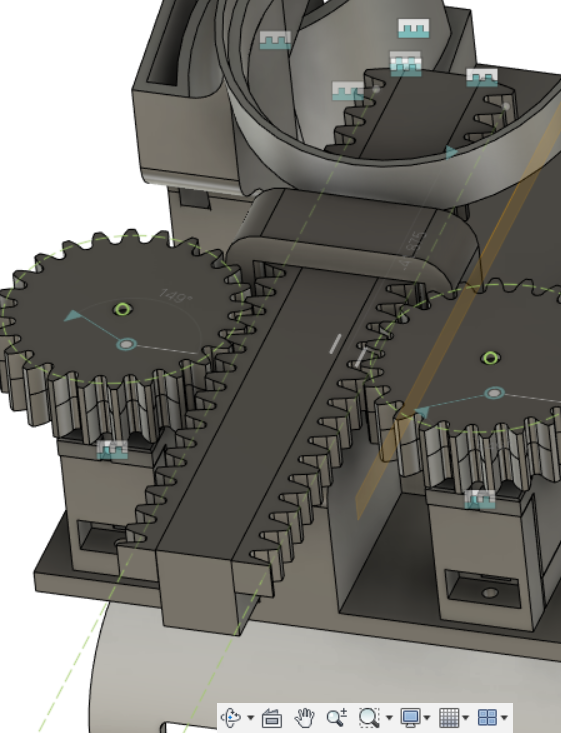
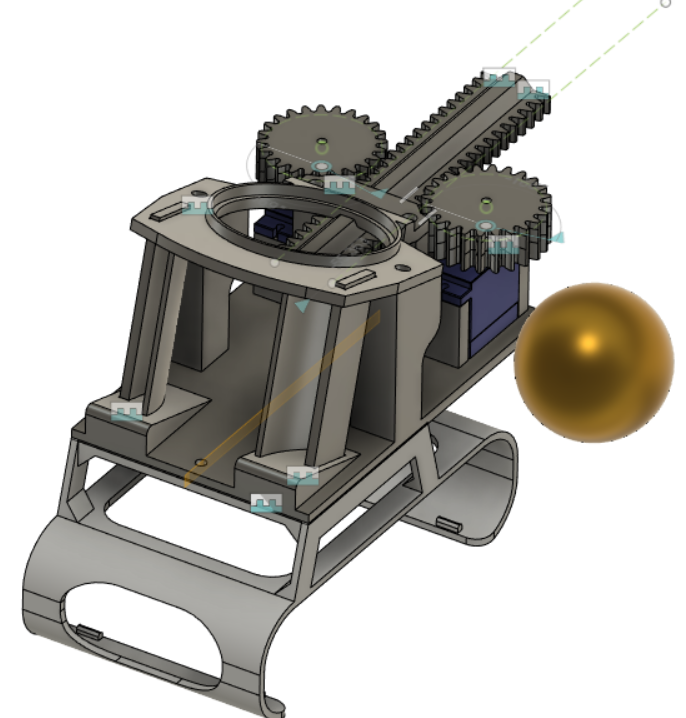
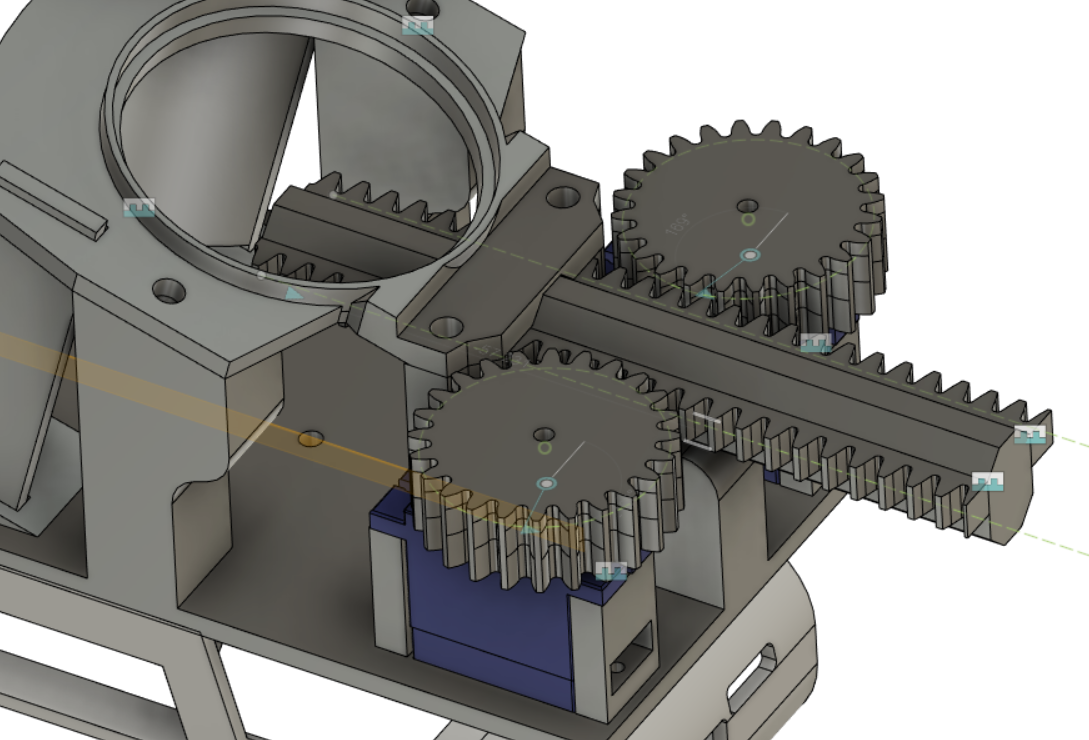
Design 3:
The main issue in the previous design was that the rack jams when the servos pushed out a ping-pong ball. This is due to a very minor mistiming in the servos. The original rectangular shape of the actuator was changed to this diamond shape to prevent the rack from moving sideways.
Next, two issues were solved in one: the roof detaching from the wings and the complexity of the prints. As you can see below, the roof was removed from the design and made to be screwed on instead. This allows all the design components to be printed without support, making it much more robust as it is assembled using screws.

Notes to fix for the following design:
The actuator doesn’t have much power when it’s pushing the ball, so the ejection system is weak
The actuator doesn’t always go straight, and the teeth jam in the channel it moves along
The print is massive and has a large number of supports that are difficult to remove
Sometimes, the pressure of the ball against the wings at the front causes them to completely pop out
The servos are known to fall out of sync again, causing the actuator to jam
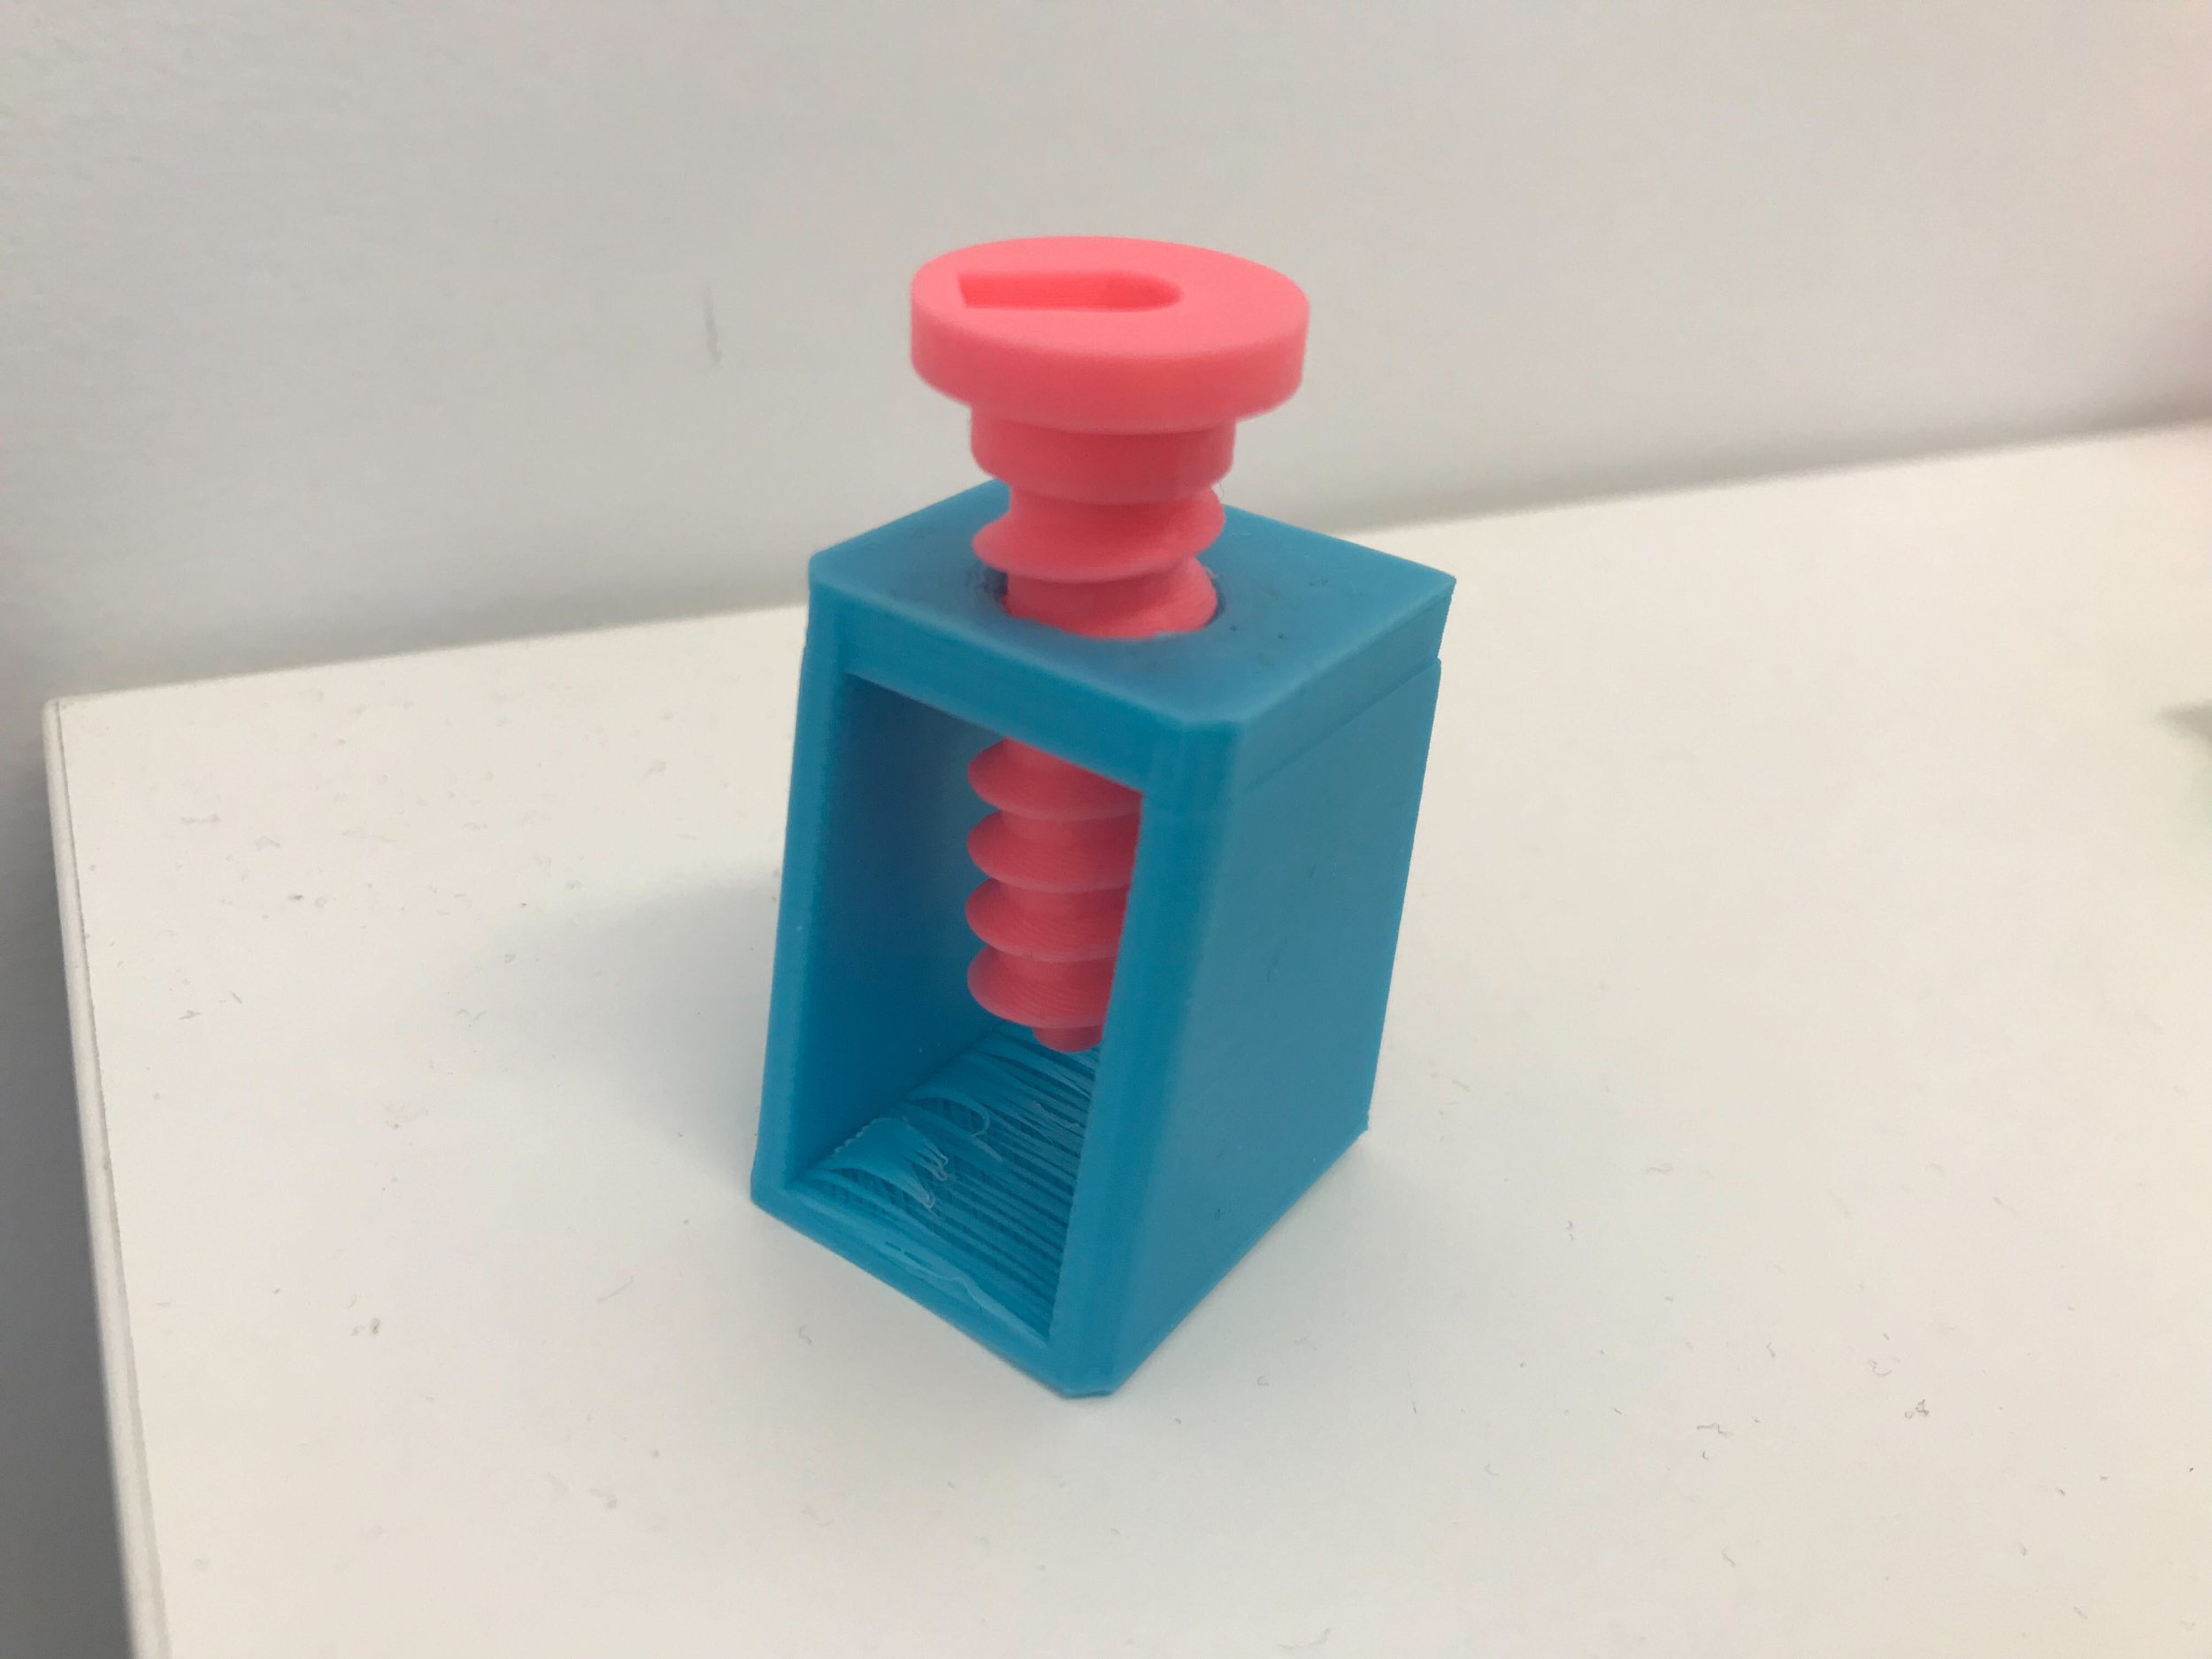
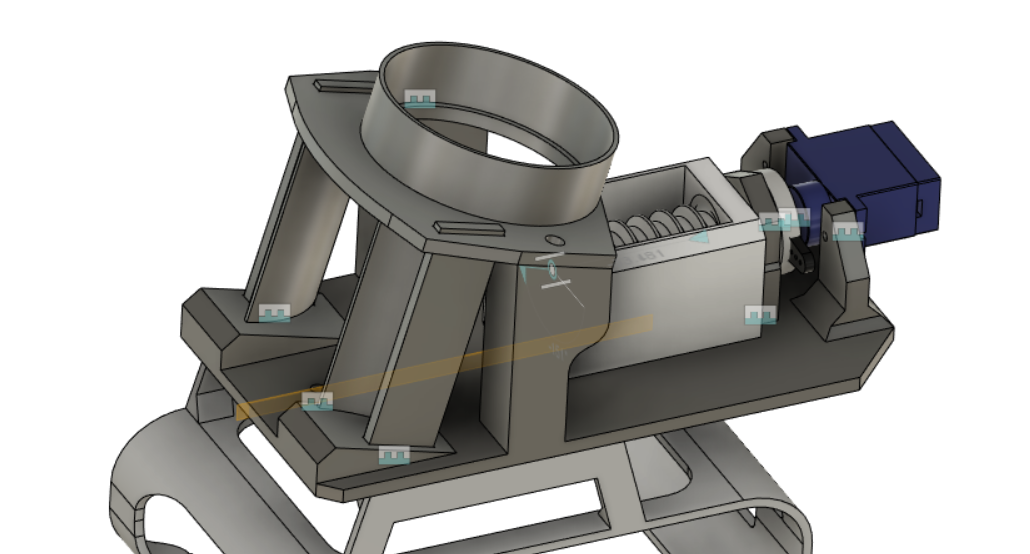
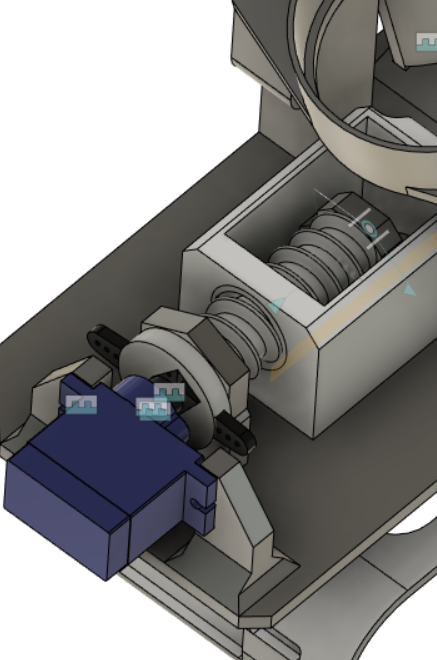
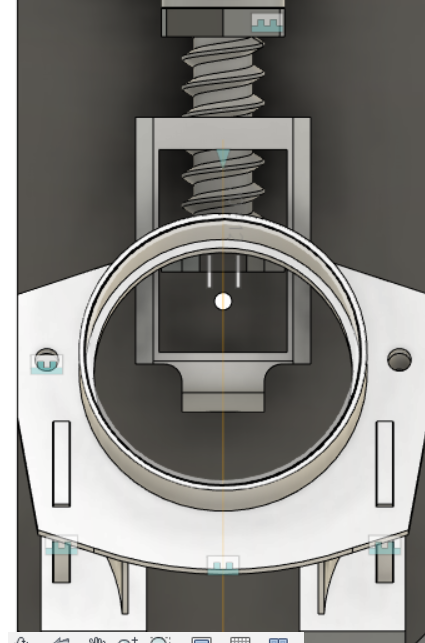
Design 4:
After experiencing several issues with the pusher design, I went for a redesign and completely removed the rack and pinion. I made a new system with a continuous servo and a worm drive to get a lot of torque in the ejection system. These systems are known to vastly increase mechanical advantage. The shooting system slowly but powerfully pushes ping-pong balls through the new, stronger wings. This lets the system shoot really far.
Final design review:
The actuator doesn’t have much power when it’s pushing the ball, so the ejection system is weak
The actuator doesn’t always go straight, and the teeth jam in the channel it moves along
The print is massive and has a large number of supports that are difficult to remove
Sometimes, the pressure of the ball against the wings at the front causes them to completely pop out
The servos are known to fall out of sync again, causing the actuator to jam
Step 5: Finalise
And finally, after many, many iterations, the design works. Now all that’s left is to consider a couple options to make your design perfect in the future. Some considerations could be:
Ease of Assembly: How easy is it to put the design together? Maybe screws could hold a part better than glue, or you could add a space near a bolt to easily get a tool into it.
Cost: How much material does it use? There may be a way to use less plastic or cardboard. Is there another way to orient the model to make the prints faster?
Aesthetic: How does it look? Yes, we also enjoy looking at the finished product and thinking, ‘Wow, that looks awesome’. You could change the shape of the design to look more professional. Add a logo? Maybe coordinate the colour of your prints to make the appearance really pop.
If you want to build the final version of the Ping Pong Shooter yourself, click the link below and get printing!