Troubleshooting 3D Prints
When it comes to 3D printing, there are a 101 things that can go wrong with the print. They may be minor, fine details that require adjustments, all the way to errors that cause a print to fail completely. In this guide, you will learn how to identify common printing errors, and implement solutions for them.
Common Issues:
Using this guide is quite simple. Simply click on an image below which resembles an issue similar to your print, and follow the guide linked to it. If the guide doesn’t feel quite right for your purpose, come back and click on another image to see another guide.
Please note that the solutions listed for the issues are the most common fixes. There are other solutions that will also work for many of these problems that are not included
Bed Adhesion:
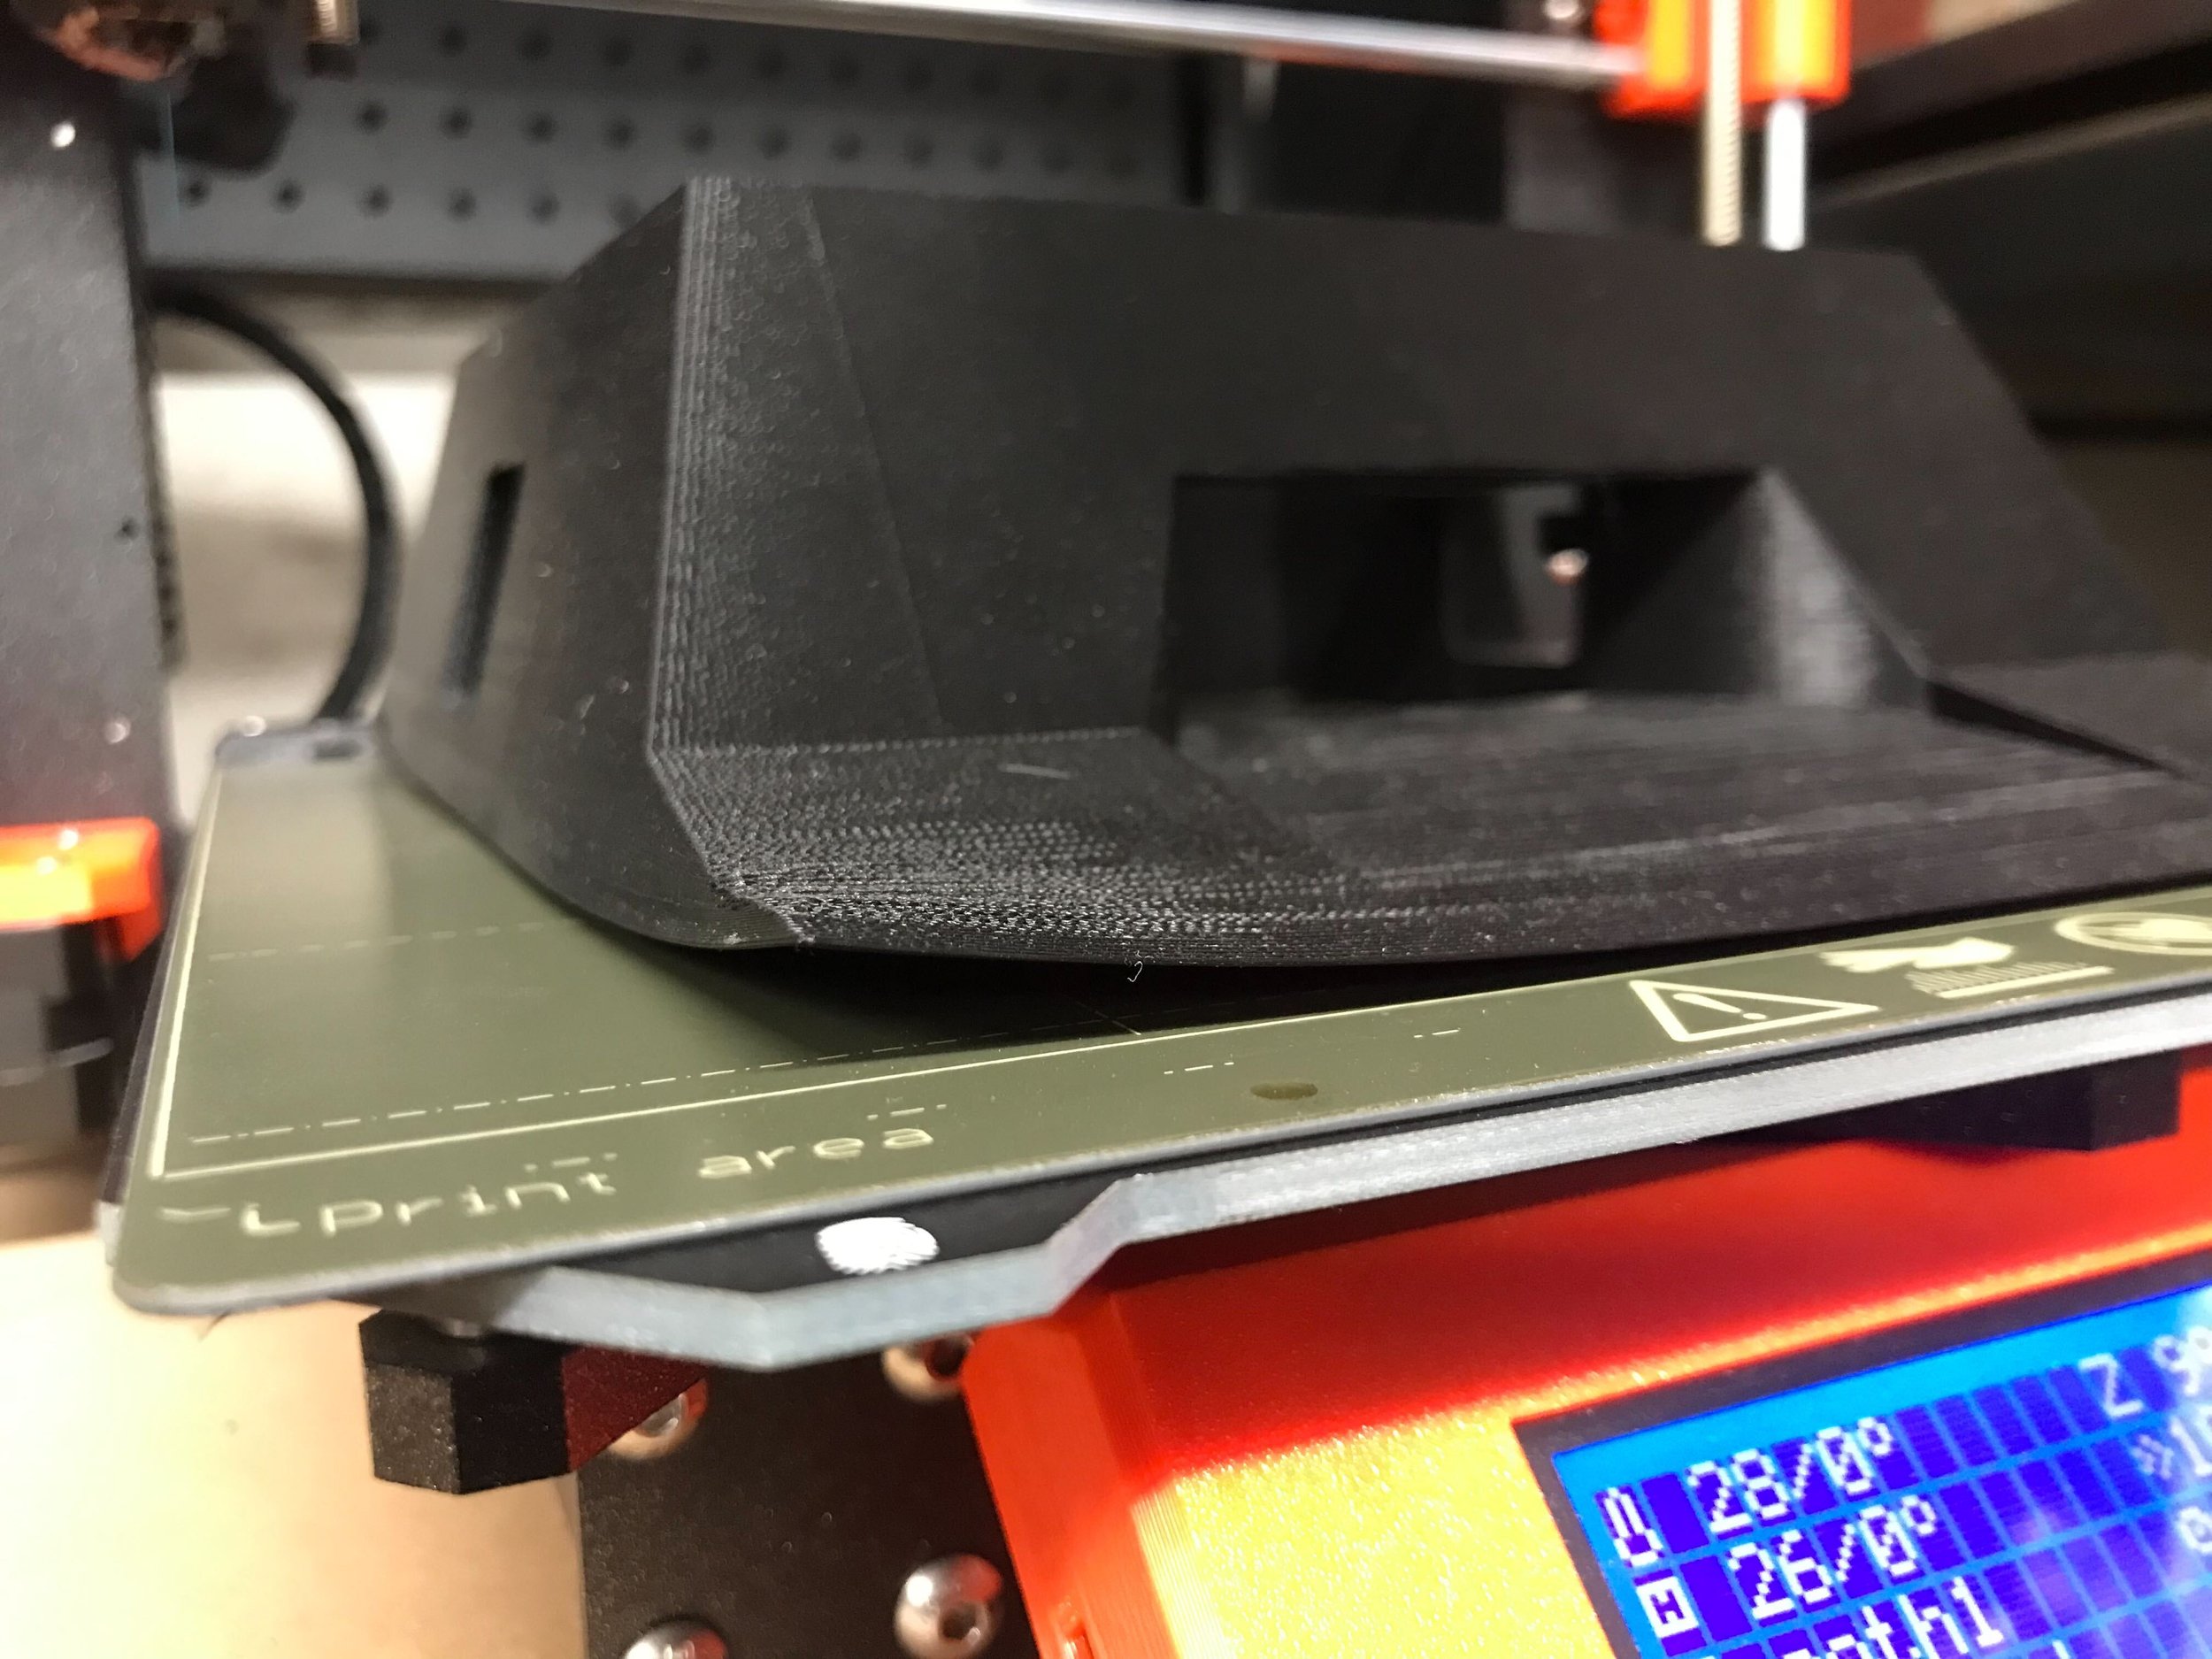
If a print does not stick uniformly to a build plate, it may have a non-uniform first layer, lift in areas, or even completely come off the bed. Each of the factors and fixes below can help to prevent this issue.
Bed Levelling:
Bed levelling refers to tuning the distance of the nozzle from the bed when printing the first layer. As seen in the diagram, this height must be calibrated perfectly depending on the printer. For more on bed levelling, head to our ‘Maintaining a 3D Printer’ guide:
Build Surface:
Even with a perfectly calibrated bed level, you may come across the issue that the filament peels off the bed. This can happen as a result of the material and texture of the build plate. Shown below are some tips and tricks you can implement to get better bed adhesion.
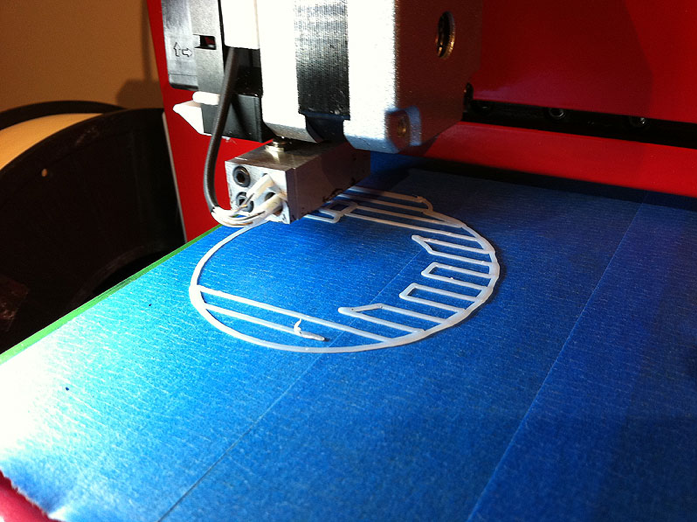
Lining the bed with painters tape
Clean the bed: Sometimes dust and residue from previous prints can cause a first layer to lift. A great way to clean the bed is to spray it with isopropyl alcohol and wipe it down.
Use Adhesives: A technique to use with glass build surfaces is to spread a washable adhesive such as glue stick or clear hairspray on the surface while it’s hot. This literally sticks the print to the build surface and ensures it doesn’t peel. Remember to reapply every few prints, and to clean the residue off the bed every now and then.
Painters Tape: Similar to using adhesives, the bed can be covered with a layer of painters tape prior to each print. This allows the print to stick to the tape, which in turn sticks well to the build surface.
First Layer:
A technique to improve bed adhesion through the slicer is to use a skirt, brim, or a raft.
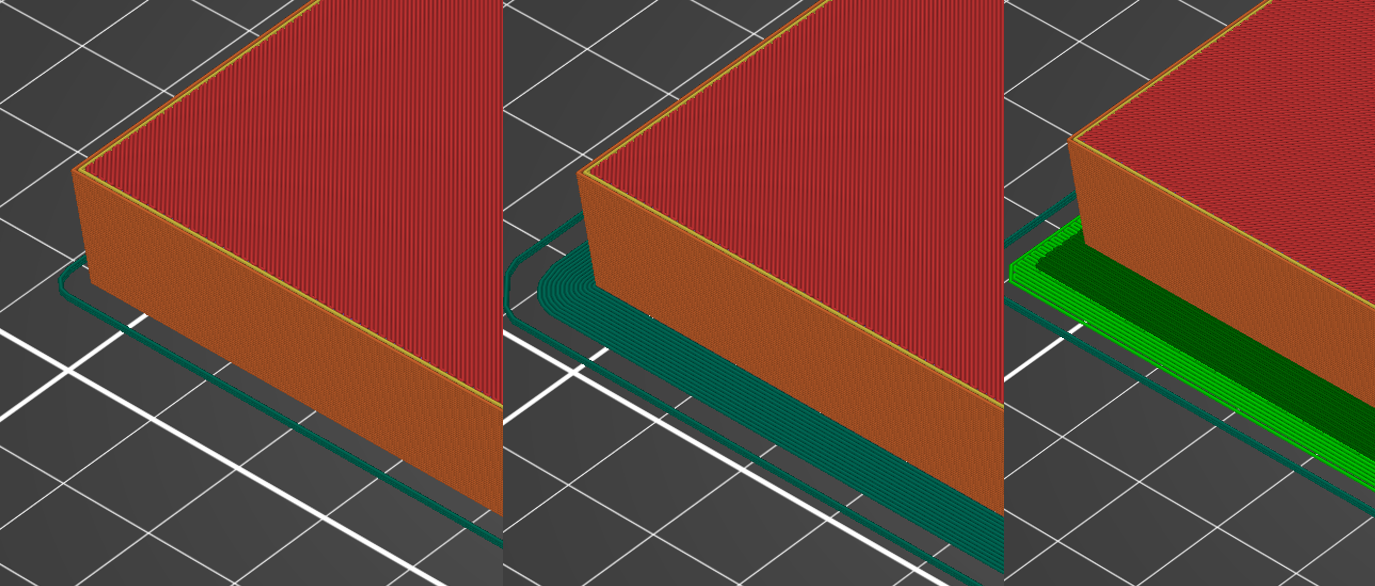
Skirt, Brim, and Raft respectively
Skirt: Prints a few lines around a print (unconnected to print). This helps to prime the nozzle and ensure a uniform flow of material before starting on the print.
Brim: A brim is like a skirt however it connects to the outer perimeter of the print itself. This helps to stick the outermost perimeter of the print to the bed.
Raft: A raft is about 3 or more layers printed first on the bed before the print itself is printed on the raft. This creates a whole new surface for the print to adhere to.
Layer Shifting:
Layer shifting is when the entire print shifts to a side and continues printing. While this can rarely happen with an issue in the motors. Most of the time, this happens due to an issue in belt tension, or an unsecured build plate.
Belt Tension:
Most 3D printers have belts to move the gantry or build plate around. When a belt is not at the correct tension, prints may come out in a warped shape or if the belt skips, layer shifting will occur. To tension belts correctly, head to our ‘Maintaining a 3D Printer’ guide:
Build Plate Securing:
Sometimes a simple cause of this issue is if the build plate is not secured properly. When the build plate slips, the printer continues printing at the same place, however the entire print has been shifted to the side. Depending on your printer, some binder clips can be used to clip the build plate to the bed. Make sure the clips do not get in the way of the head or printer when it’s operating.
Under-Extrusion:
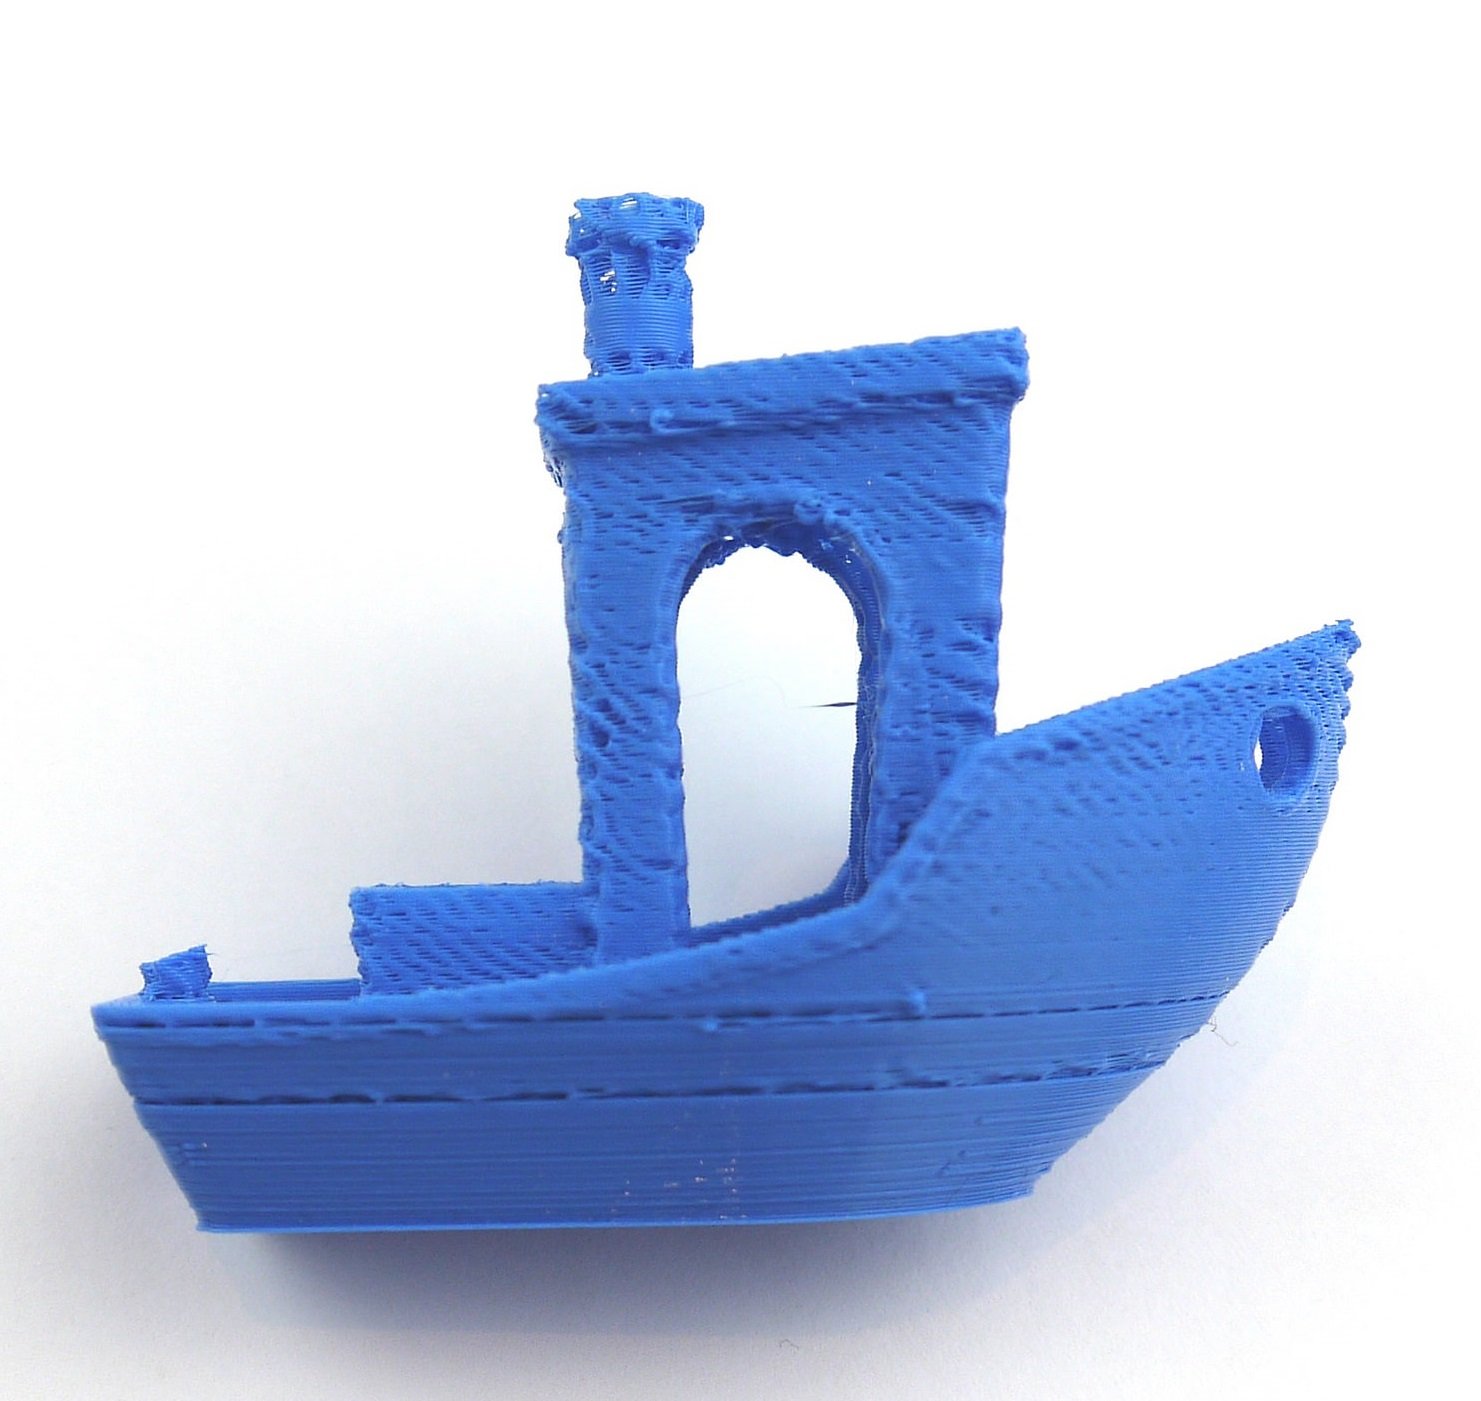
Under-extrusion is when not enough material is coming out of the nozzle. Holes may appear in the print due to this which results in a very weak structure. Some causes of this issue may even result in the printer not extruding at all.
Extruder Nozzle:
The extruder nozzle can be the culprit of many under-extrusion issues. Most extruders on printers are made of brass and they tend to wear out over time or clog. The easiest fix is to replace the nozzle however there are techniques to remove a clog.
Use a needle: First, the printer must be heated up, and the filament should be removed. Then, a dedicated 3D printer nozzle needle can be inserted in from below. Do this a few times to clean any blockages from the nozzle.
Cold Pull: If the technique above does not work, a cold pull can be performed. This is a technique where a small length of filament is used to completely flush out the hotend and anything that may be trapped inside. To perform a cold pull, take a look at the following steps:
Heat the nozzle to printing temperature (of the last printed material) and remove any filament (and PTFE tube if your printer is a Bowden setup).
Once the nozzle is hot, insert a length of filament into the hotend (making sure it extends out the printer for you to grab) until you feel resistant. Push it in a little tight.
Set the nozzle temperature to half the print temperature and wait for it to cool down. Once it cools down, slowly pull the filament out, and any debris and blockages may come out with it.
If you feel as if the hotend is not clear, keep repeating from step 2 until satisfactory.
Filament Temperature:
There are many different materials used in 3D printing, and each possess different properties. It’s important to make sure that the nozzle temperature is hot enough to melt the material you are working with. Even so, depending on your roll and printer, custom temperatures may be required. A good strategy is to select a small, test file and print it repeatedly while increasing the temperature at 5°C increments. Note which temperature print looks the best and use those settings from now on.
Filament Quality:
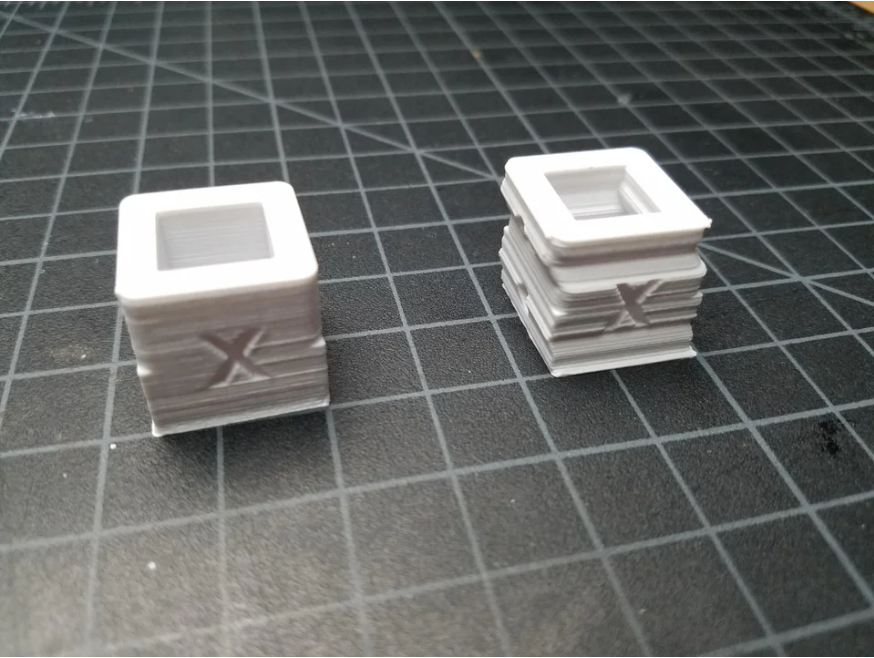
Filament is known to absorb moisture and dust from the air which can compromise the quality of the material. This can cause weak prints, irregular extrusion, and even clog the nozzle entirely. Filament that has absorbed moisture tends to be brittle, and sometimes makes a crackling sound when melted in the hotend. It is however possible to restore quality to the filament using a filament dryer. If a filament dryer isn’t accessible, a modified food dehydrator or even an oven in some cases can be used to dry filament. Shown below are two prints of the same roll and the same printer, the only difference being the filament was dried in a food dehydrator prior to printing the part on the right:
To prevent exposing the filament to dust and moisture, store rolls in an airtight bag away from sunlight. Desiccants and vacuum sealing can be used for an even safer storage technique.
Overhangs and Cooling:
Cooling:
The basic concept of FDM printers is to extrude molten filament and cool it the instant it leaves the nozzle. Good cooling allows the printer to print over large gaps without a problem and prevents corners from curling which happens when the filament cools slowly. With PLA, good cooling is vital.
To improve overhangs and cooling, ensure that the cooling fan speed is switched onto maximum and is on for all the layers (unless excluding the first few layers). Depending on your printer, you may even upgrade the printer head to have more and larger cooling fans. Tutorials for such upgrades can be found all over the internet for various popular printers.
Finally, as a band-aid fix, the print can be cooled externally with the help of a pedestal fan aimed at the print. While this is not recommended as it may lead to warping, on occasion, better overhangs can be achieved using this technique.
Supports:
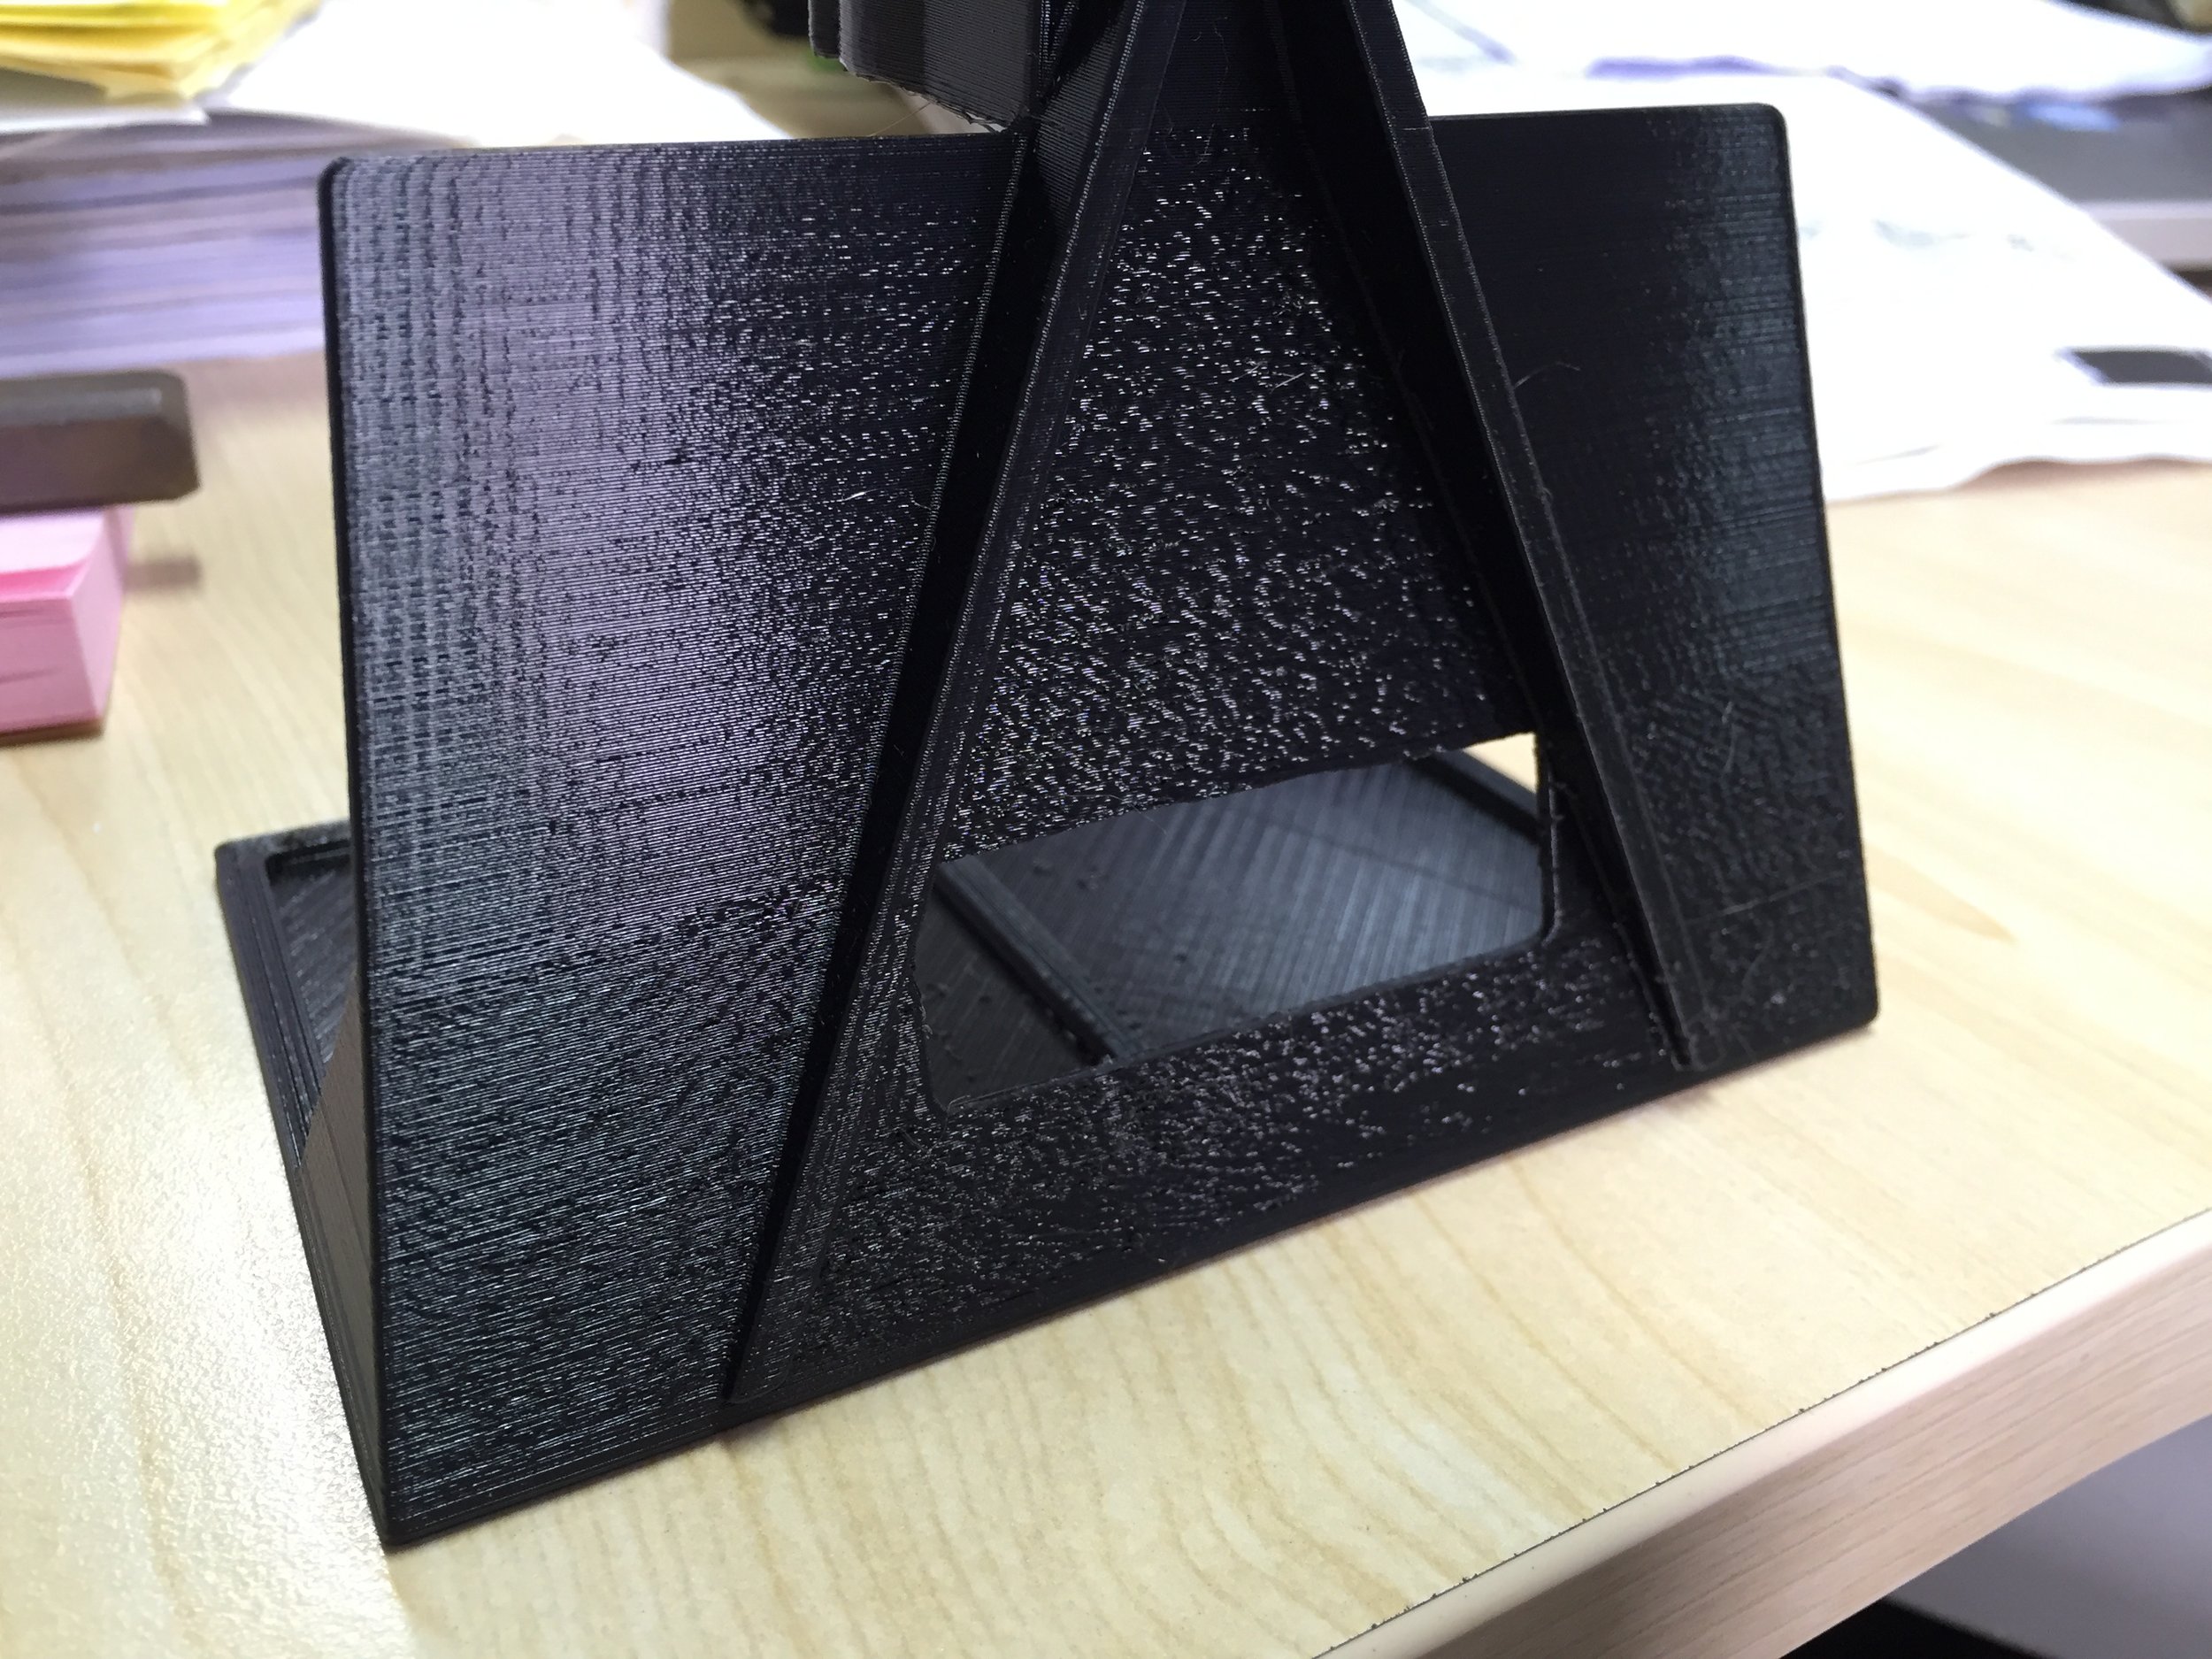
Sometimes, overhangs simply cannot be achieved even with the help of perfect cooling. In situations outlined in the diagram below, the use of supports are vital. While removing supports can be long and annoying process, here are some slicer settings we’ve experimented with that can create easier to remove supports:
Z contact distance: This is the distance between the top of a support and your part. Making this about 0.2mm will stop the support from bonding to the part.
Support Interface: This gives the support a sort of roof. Again, this roof will stop the support from bonding to the part so make sure to enable this option.
XY distance from support: This dictates how close a support can be to a part wall. Making this about 60% of the printing perimeter width should stop supports from sticking to walls.
There are many other support settings to play around with, but these are the ones we’ve found to be the most important.
Creidt: vmsaSTEM
Stringing:
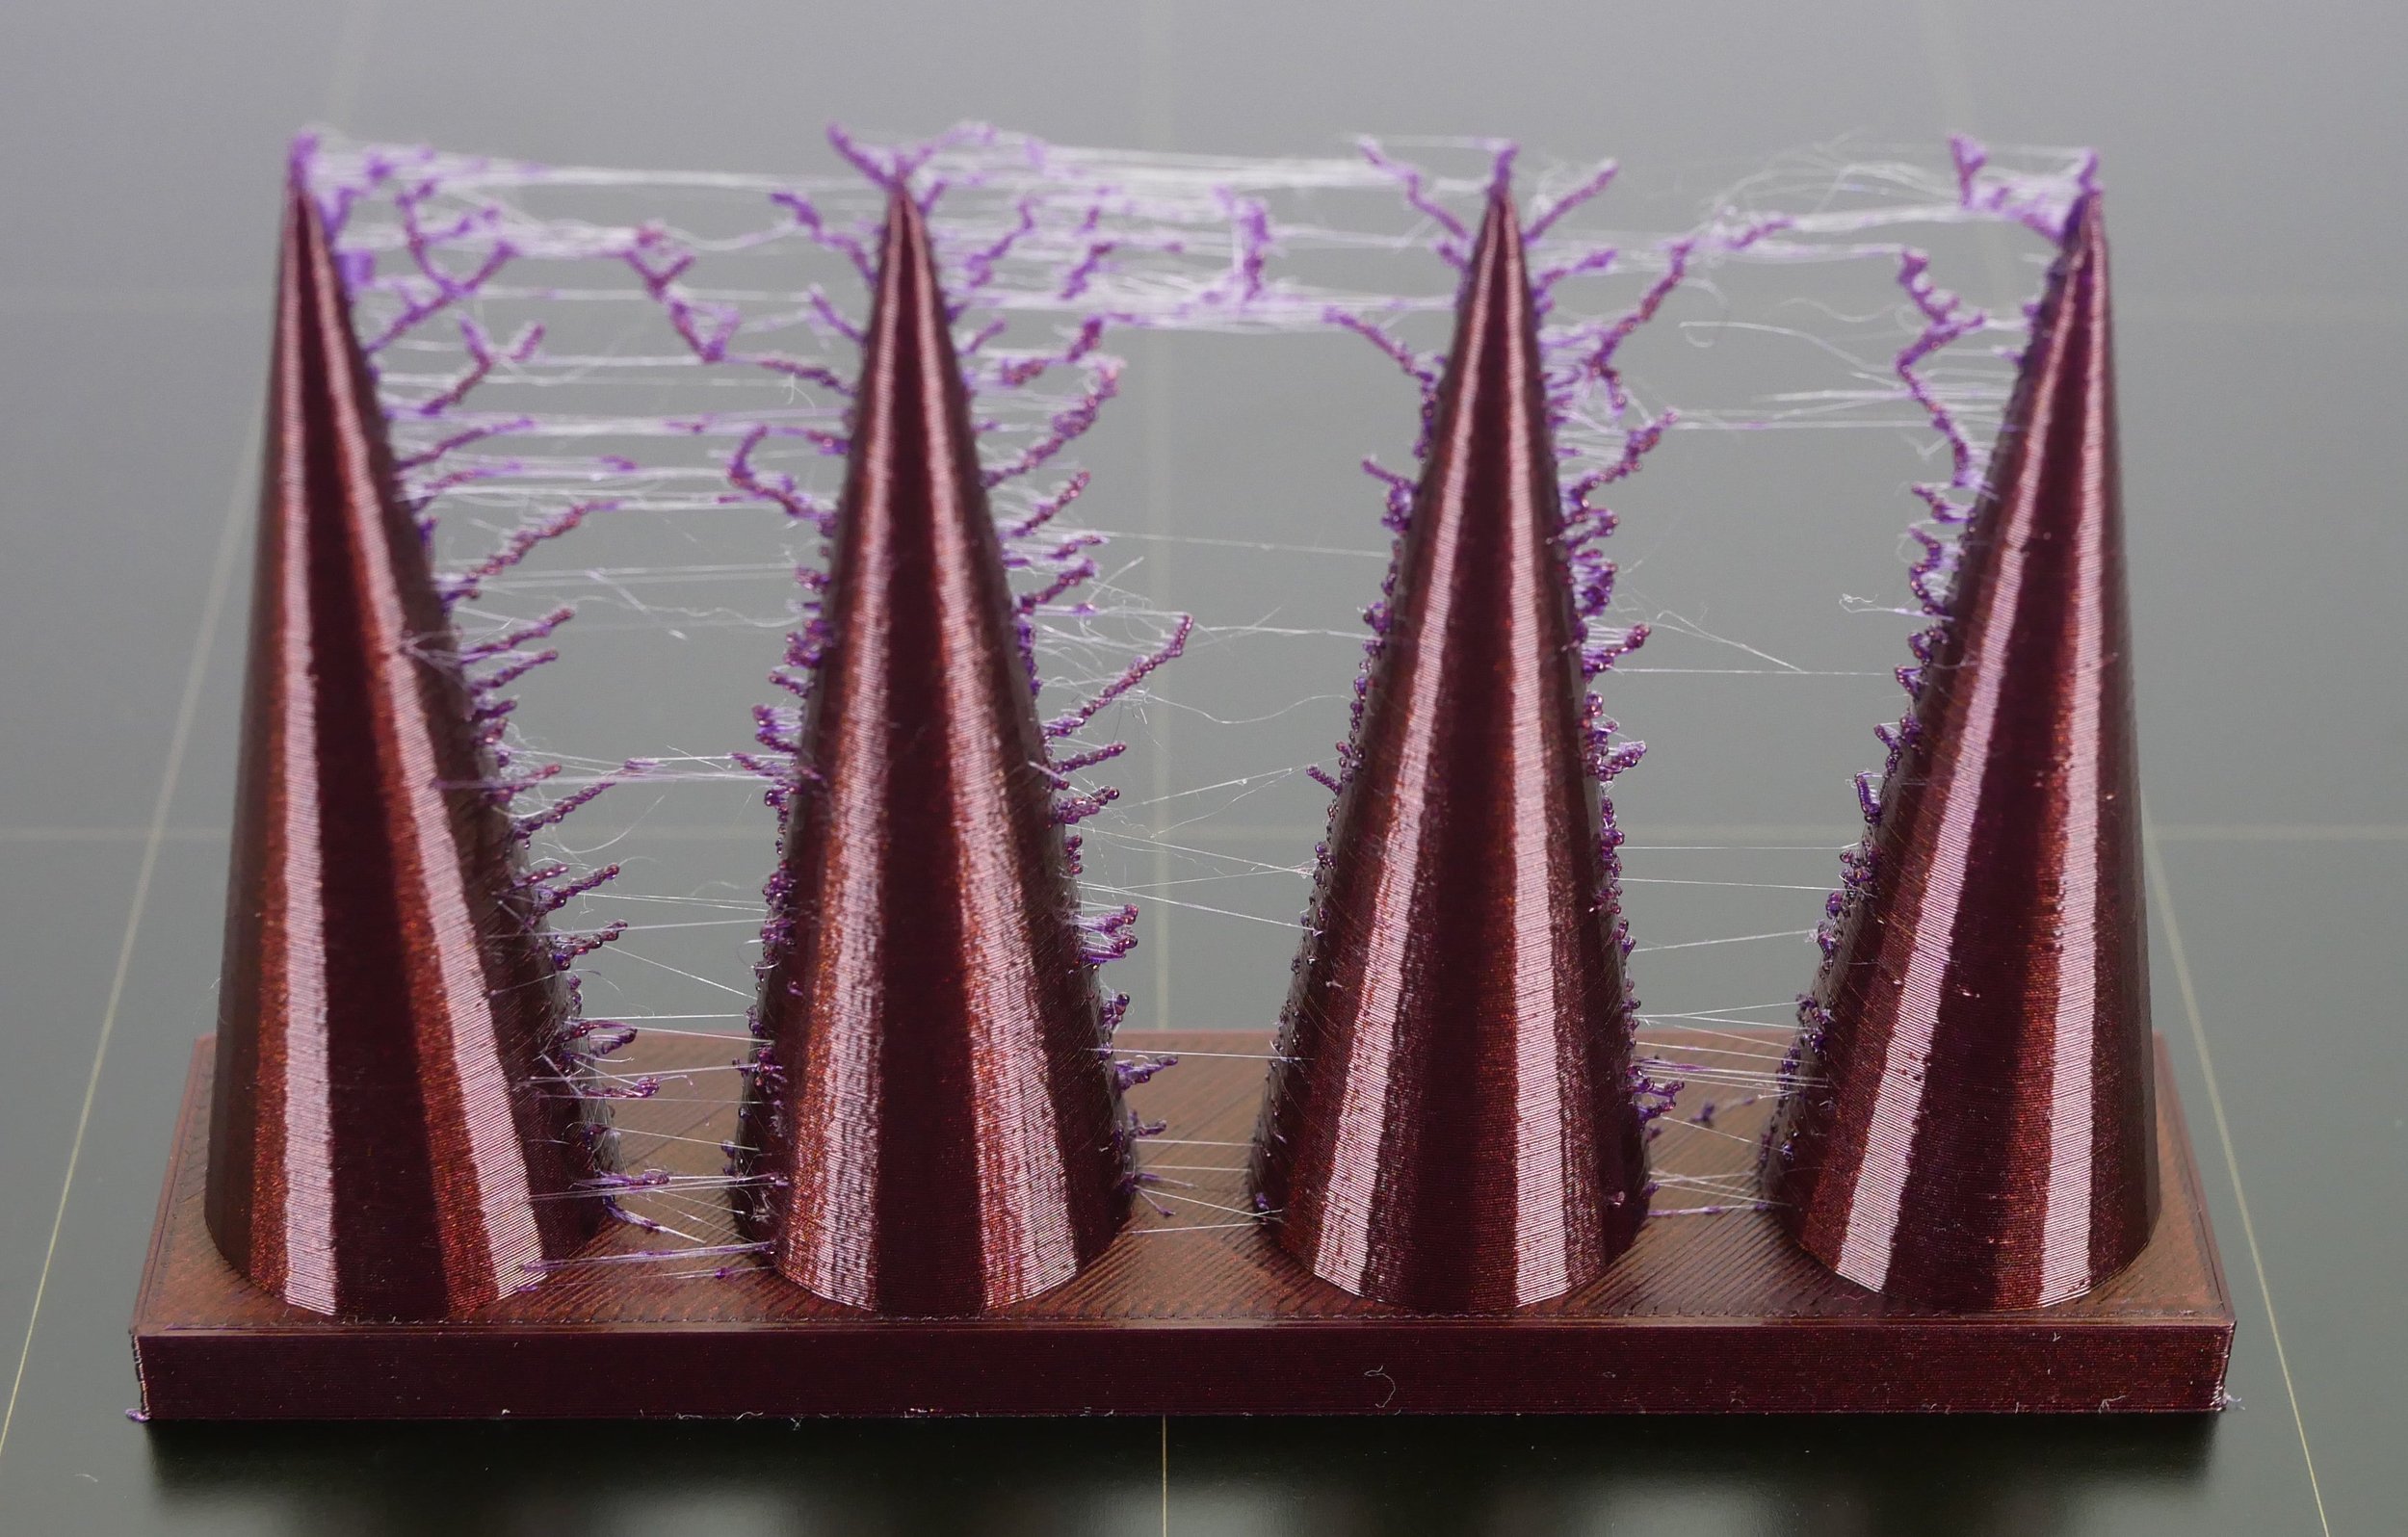
Stringing occurs when the printer is not extruding, but some remaining molten filament in the nozzle oozes out. As the printer travels about the part, it unintentionally draws thin strings of filament between walls which lowers the quality of the final part.
Temperature:
The most common cause of stringing is temperature. Simply put, the hotter the filament is printed at, the runnier it is when liquid. To prevent stringing, the goal is to remain within the printing temperatures for the filament, but to be as low as possible. Each filament roll is different so the best way to find the ideal temperature is to print the same test print repeatedly while changing the temperature by 5o each time.
Another faster trick to find the ideal printing temperature is to use a temperature tower. Download a temperature tower (any should do) and use your slicer’s advanced settings to add temperature changes each block. Shown below is how we prepared a temperature tower in Prusaslicer.
Download the files for a temperature tower and import it into a slicer. The temperature tower by Simplify3D was used for this tutorial.
2. Use advanced settings on your slicer to add a temperature change on each platform. A good way to do this is to start at the coldest recommended temperature for your material and increase in 5°C increments.
To do this in Prusaslicer:
1) Slice the print
2) Scroll to a platform, right click on the slicer, and click ‘Add Custom G-code’
3) Enter the M104 S<temperature> command to set a temperature change at that layer. In the example image, the temperature is being set to 240°C
After the print, inspect and see which temperature results are the best and use that temperature for future prints with that filament.
Credit: Simplify 3D
Slicer Settings:
Sometimes stringing is unavoidable, however measures can be taken so these strings don’t affect your part. Shown below are some settings you can activate in your slicer to prevent strings:
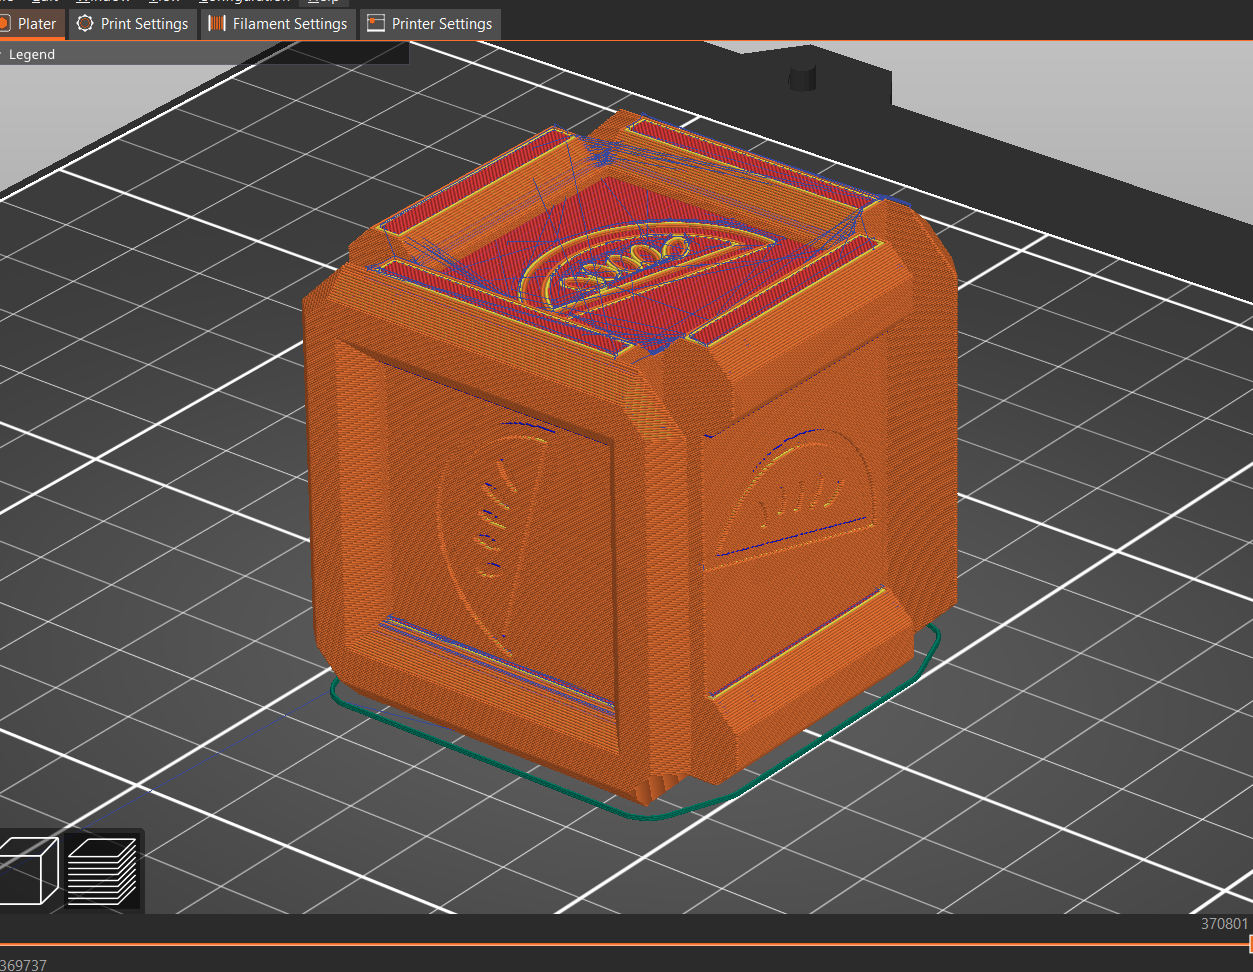
Travel only over print/Avoid crossing perimeters: Enabling this setting, forces the printer to travel only over the part and not through open space when possible. Shown in the example below, dark blue lines indicate the travel of the print head. On the left side is without this setting and we can see there can be a lot of stringing. However, with the setting enabled for the print on the right, there is a far lower chance of stringing.
Retraction: Retraction is where the extruder pulls out the filament a bit when it’s not printing. This releases the pressure in the nozzle and reduces leaks. A retraction of about 4mm at 60mm/s is a standard setting to use.
Sometimes print speed, and quality of the filament used plays a role in stringing, however the techniques outlined above are the common fixes.
Surface Texture:
Vibrations:
A rough texture on the outside of a print can be caused by printer vibrations. This can be from vibrations anywhere in the system, from the print head, to the printer itself, and even the table or surface the printer is on.
To fix vibrations, simply observe the printer to see where vibrations may be occurring, and take measures to reduce it. This could be tightening loose bolts on the printer, calibrating eccentric nuts, or ensuring the surface the printer is on is sturdy. A technique to dampen vibrations is to place the printer on a thick foam mat. Reducing vibrations may even make your printer a bit quieter!
Belt Tension:
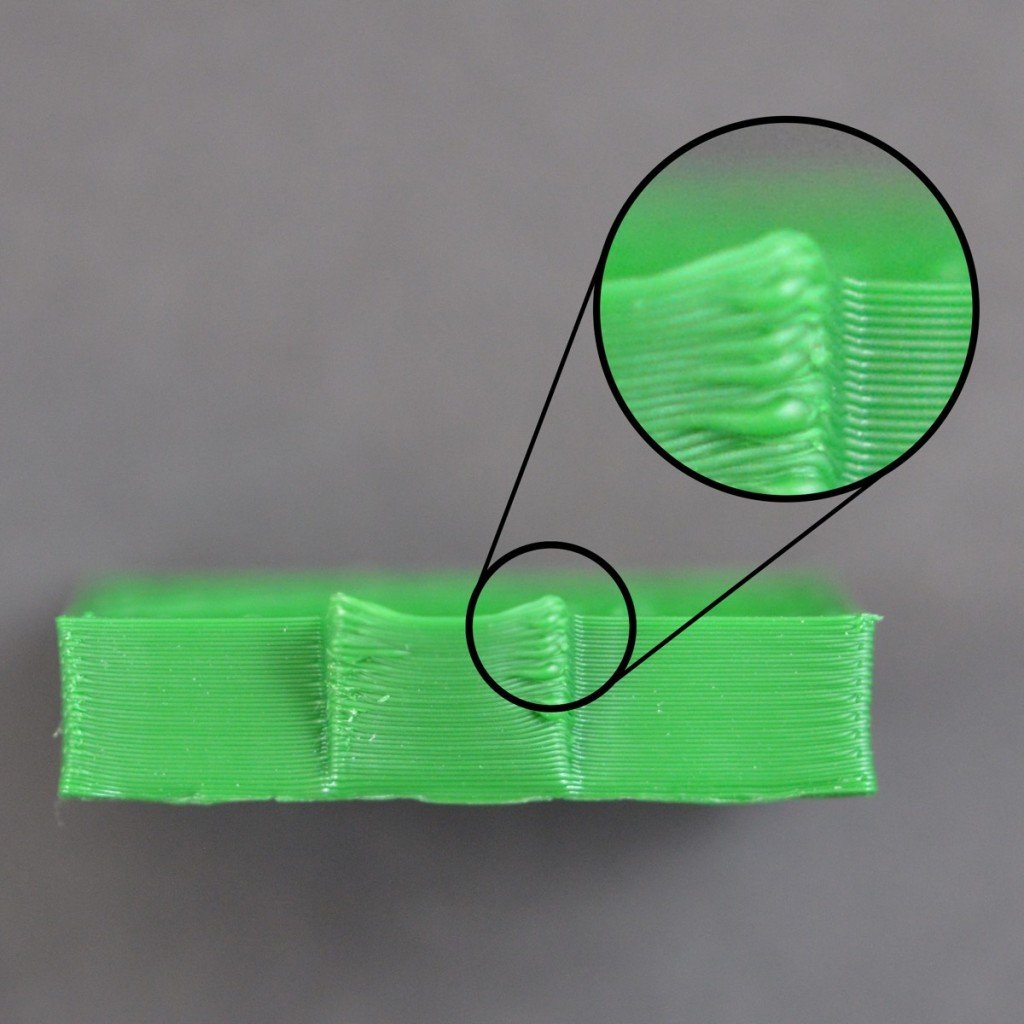
Tensioning belts is a crucial part of maintaining 3D printers. This doesn’t have to be done often, however belts must always be at the correct tension. When belts are not tensioned correctly, dimensional defects may occur in the print like in the example below. For tips on getting your belts tensioned correctly, visit our page on maintaining 3D printers through the link below:


